I love learning and I particularly love learning new sewing techniques and, these days, with YouTube at my fingertips, for every problem there’s a thousand self-styled tutors ready to share their skills. But, even with 30+ years’ sewing experience, for a bit of finesse there’s nothing quite like taking yourself back to college. I’m just about to complete my first year with The Mallow College of Design and Tailoring, and the annual fashion show looms large on the horizon.
 Amongst the First-Years, there is a huge range of experience and ability – from those who had never sat at a sewing machine before, to those, like me, whose day-to-day work requires use of one. For the fashion show, this year, we are not required to design anything, but rather put together a striking outfit using commercial patterns. Whatever is chosen (and whatever size they are made in), the outfits will be worn by professional models and are expected to be beautifully made. Hence, novice students are gently steered away from overly complicated or time-consuming patterns. But me? What is it they say about fools rush in where angels fear to tread?! Coats and jackets are not something that I’m asked for very often, and it’s been a long time since I made one for myself. So, in choosing this classic Claire Shaeffer couture jacket, I knew I was setting myself a bit of a challenge.
I’ll spare you the history of the first few weeks of the project, where progress (one day a week in class only, punctuated by multiple absences for ills, chills and bad weather) was painfully slow – seemingly endless hand-basting (Gutermann 100% cotton tacking thread has been a revelation), pressing, shrinking and shaping of the wool tweed and its canvas interfacing. But then things started to get interesting …
Even in 2018, perhaps the thing that most defines couture sewing is the hand finishing. Even so, I don’t think I was quite prepared for the amount of hand-sewing that goes into a tailored jacket. “These techniques are uneconomic for most women’s clothes because fashions change so quickly”, says College Principal, Mary Cashman, “but they’re still common in men’s suits. A man’s suit is built to last. He might only have one, and will probably be buried in it!” Well, yes, I might yet come to be buried in my jacket, too.

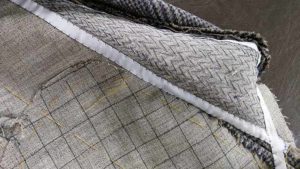
The first taste of things to come arrived with the instructions concerning the pad-stitching and shaping of the lapel. The differing length and spacing of the chevron-patterned stitching is surprisingly effective at causing the lapel to naturally curl from the break point and encourage it to lie flat against the breast of the jacket – even before it is steamed or pressed.
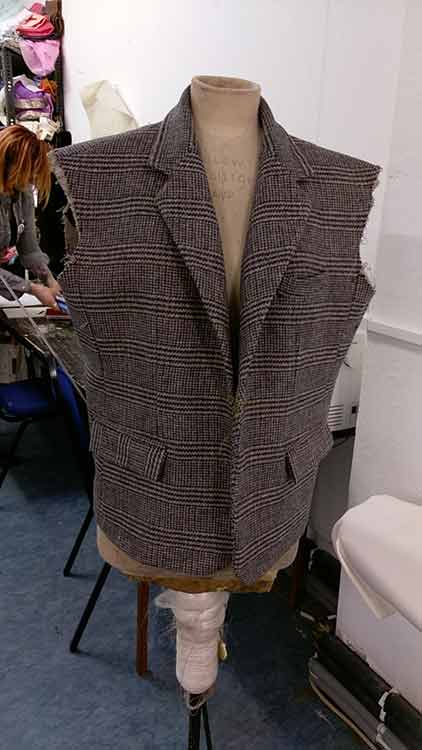
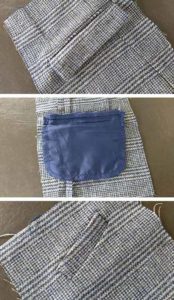
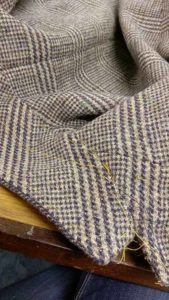
Next, I joined the side panels and constructed the pockets: a single welt breast pocket, and two double-welt hip pockets with flaps hand-stitched with running stitches. Finally, I got to attach the back panels at the sides and shoulders, and the front facing to complete the lapel. To ensure a precise finish, the trimmed seam allowances are ‘tamed’ by folding and hand-stitching in place, followed by a steam press and a brisk ‘spanking’ with a clapper! I kid you not.

A traditional anvil-shaped tailor’s wooden ‘clapper’ is an invaluable tool for putting a crisp crease in tailored garments without risking scorching from prolonged use of the iron, for pressing seams open and turning points. I don’t have a heavy clapper. To be honest, until I started this project, I never thought I’d need one. I am, however, very attached to my little Perfect Point point mini clapper from J Stern Designs. Hand-made in a variety of hard woods, these versatile little tools can be used with a steam iron and, while they don’t have the weight of the traditional clapper, they are great for detail work – such as turning and pressing lapel points.

I’ll not lie. I find tailored collars and lapels tricky at the best of times, and have adopted a tried and trusted ‘cheat’ technique to ensure that I always get them matching and looking crisp. This time, however, there were to be no short-cuts. Starting with thread tracing the seam allowances and roll line, followed by pad-stitching the interlining, this jacket’s collar is almost entirely hand-stitched, even to the point of attaching it to the jacket body using fell stitches.
With 91 of the 141 sewing instructions complete, the body of my jacket is now ready for its lining. But there’s still a long way to go. Join me again for the lining, sleeves, shoulder pads and buttonholes. Hand-sewn. But of course!


