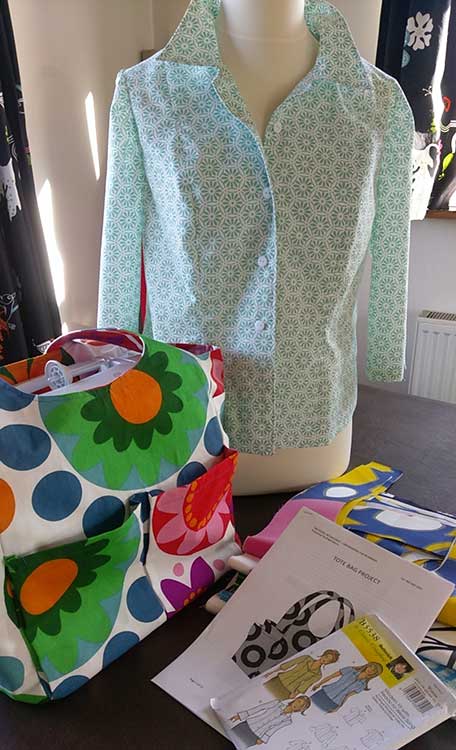
Yesterday marked the beginning of my Spring term and a new sewing year. We had a full house of three newbies and one of last year’s ‘graduates’, who was acting as driver for her mum (and working away, herself, on a pretty, vintage-style, summer dress). Everyone rattled through the sewing machine basics and had, pretty much, nailed bobbin-winding and threading the machine within the first hour-and-a-half. By lunchtime, they all had the pleated pockets attached to the back and front panels of their bags.
I don’t worry too much about sewing machine skills at this point in the course. Everyone gets to thread their machine once or twice before sewing a couple of sample exercises. After that, it’s learning by doing. Sewing the tote bag sets everyone up nicely for their dressmaking project. Transferable skills include attention to seam allowances, pressing (as opposed to ironing), reverse stitching to secure threads, and adjustment of stitch lengths and tension. Things go wrong, the needle unthreads, the bobbin runs out, the machine jams and stitching knots, wonky seams have to be unpicked, and sometimes we have to change a broken or bent needle. It’s all part of the experience and helps build confidence, as students see how quick and easy it is to rectify most problems.
The bag pattern certainly isn’t a beginner pattern. Sure, most of the seams are straight, but there are also tricky processes, such as pivoting at the corners to attach the bottom, joining the lining to the outer, while matching the seams (and without catching the seam allowances in the stitching), not to mention sewing the curved seams that form the handles. Many sewing courses start beginners off with a two-dimensional project with exclusively straight seams – a simpler bag or a square cushion, for instance – but, if dressmaking is your goal, sewing straight seams is of limited usefulness. After all, our bodies are 3-D – and curvy!
After a break for lunch, pockets were attached to the bag side panels. Then, once the front, back, and side panels were all joined and seams pressed open, the whole bag was given last once-over with the iron, before the bottom was attached and assembly of the outer shell was complete. Next week, we’ll make up the contrasting linings and finish them off.

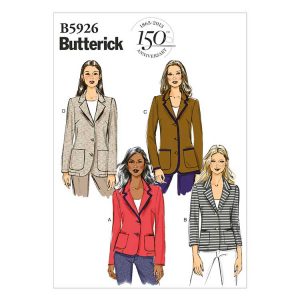
The only other thing to do, before the end of the first day, was to choose a dressmaking pattern. I had two orders for my new jacket pattern, Butterick B5926, and we’ll be making view C of the ever-popular Butterick dress, B4443. Look out for my make of the jacket pattern, soon.
Would you like to learn to sew? It isn’t too late to join my classes and, for a trial period, I’m offering my beginners’ course in two parts. If dressmaking doesn’t appeal, but you would like to learn to use a sewing machine, you can spend two days making the tote bag, with no obligation to continue. Likewise, if you are already confident with the sewing machine (maybe you’ve made home furnishings, or done some quilting), you can sign up for four days’ dressmaking. See my Learn to Sew page for more details.


